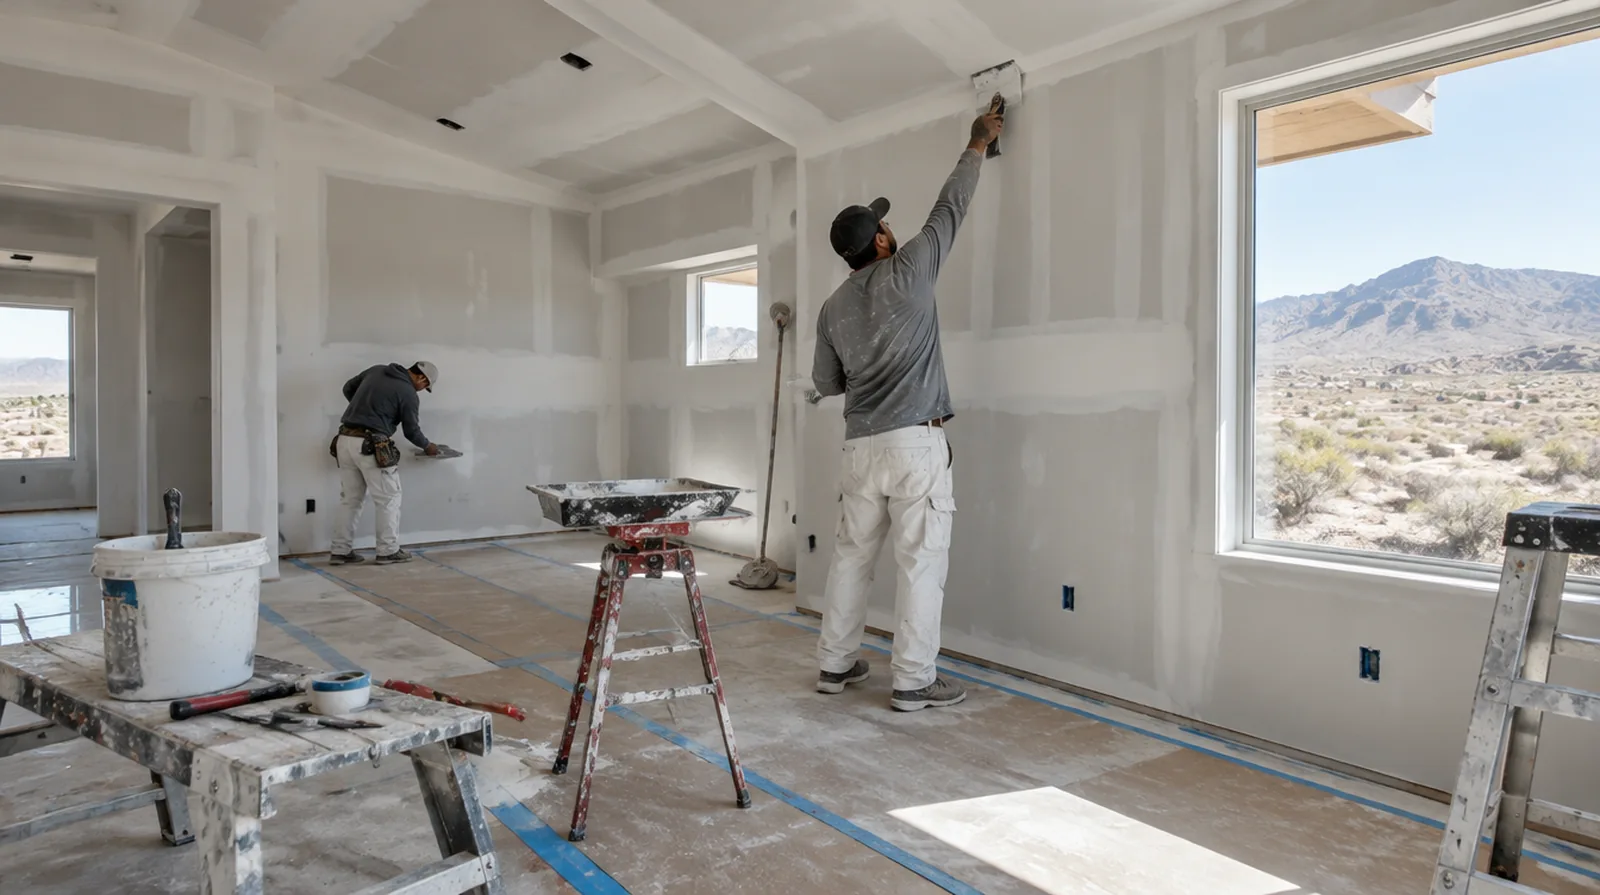
Consider a skim layer
Light passing across a wall can emphasize the difference between finished joints and the panel paper. A suitable skim treatment can help create a more uniform surface when the specification calls for it. Where a future fixture will be installed, coordinate any required backing while the cavity is accessible rather than reopening the completed wall.
Choose joint materials
Joint bedding and the last surface coats do not necessarily call for identical products. Choose compatible compounds with regard to their intended purpose, the space and the relevant product instructions. Where a future fixture will be installed, coordinate any required backing while the cavity is accessible rather than reopening the completed wall.
Assess the hung board
Misaligned panels or unsupported joints need attention before the finishing layers can perform properly. Fastener depth and board alignment should be checked before joint treatment begins. If a household member is sensitive to dust, discuss containment and cleaning expectations before choosing how to stage the room work.
Embed the tape
A continuous bedding layer supports the tape and reduces the chance of air bubbles along the seam. Inside corners need a crisp fold and balanced coverage on both faces. At a surface receiving strong window light, review a dried trial from the side in addition to the normal straight view of the wall.
Build the seam gradually
Make later joint coats progressively broader so the transition becomes less abrupt. Butt joints normally need a broader blend because they lack the recessed edges of factory seams. For a surface carrying numerous paint layers, discuss whether differences in the retained profile or sheen justify decorating a broader area.
Allow genuine drying time
Do not judge a coat ready solely because its outer face appears firm. Temperature, air movement and room humidity affect the interval between finishing steps. If the completion date matters most, allow for intervals between coats as well as active labor instead of assuming the entire process happens continuously.
Agree on the visual standard
Agree how the completed wall will be viewed and decorated before choosing the finishing standard. A stated finish level helps both the drywall trade and the decorating trade work toward the same result. When concealed damage is possible, establish how additional findings and any proposed removal will be recorded before the scope changes.
Inspect the whole wall
Checking only the joint lines misses transitions near corners, ceiling edges and electrical boxes. Use the intended room lighting where practical and include an oblique view across the plane. If a separate painter completes decoration, agree the condition of the handed over surface and assign responsibility for small final corrections.
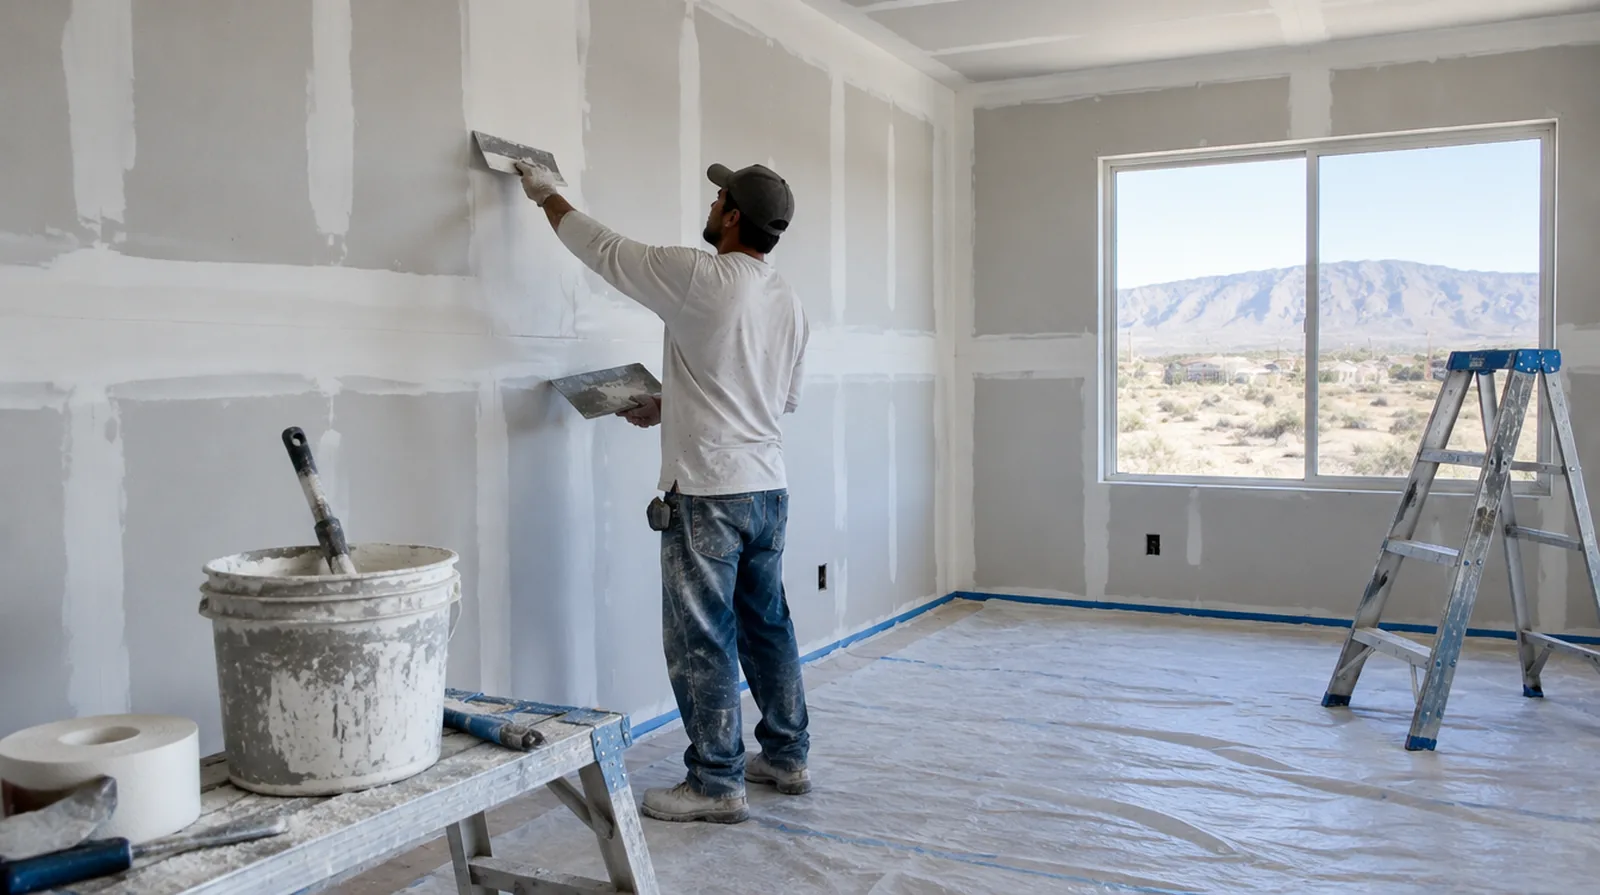
Coordinate with the painter
A primer coat sometimes makes small surface defects easier to identify than raw white compound. Decide beforehand who handles minor touch ups and whether a post primer review is included. When the decorative coating has been selected, tell the finisher its intended sheen and color while the substrate preparation standard is still being agreed.
Use controlled sanding
Use sanding to refine minor imperfections instead of reshape an unnecessarily heavy joint. Dust extraction and protection matter even for a room with only a few seams. If the wall surface work belongs to a broader renovation, coordinate its order with flooring, cabinetry and trim instead of scheduling finishing in isolation.
Project context in Hesperia
A crack over a window header that reopens each summer usually points to seasonal movement rather than a failed patch. Dry High Desert air shortens drying time, so thin coats and light misting help prevent shrinkage cracks.
Scope questions before finishing
For a limited patch requiring substantial setup, assess the complete package of access and protection rather than relating cost only to the opening size.
When photographs are used for an initial discussion, include a wide room view as well as a close view so scale and surrounding finishes are understandable.
When the same defect has returned, share information about previous repair methods so the next assessment can consider why they did not last.
If the coating stability is unclear, assess which layers are adequately bonded and which should be removed rather than simply hidden beneath new material.
When damage followed other building work, describe the nearby alterations and the sequence between those changes and the first visible defect.
At a ceiling or wall containing fittings, assign removal and reinstatement duties for the affected devices before repair access is needed.
In a room with little free floor space, identify temporary storage for belongings and establish sufficient clearance for the work before delivery.
Where light reflects along the wall, inspect the complete plane instead of limiting the review to the edge immediately next to the repaired section.
When comparing competing estimates, make sure their protection, surface finish and disposal allowances describe equivalent work before comparing the final prices.
When concealed damage is possible, establish how additional findings and any proposed removal will be recorded before the scope changes.
Where a neat final edge matters, agree whether the finish ends against existing trim or whether that trim will be removed and replaced.
For a room with restricted airflow, plan drying conditions alongside dust protection and the comfort of people occupying neighboring spaces.
Explore the Hesperia drywall overview for related options, or read the project planning information before arranging the next stage.
More planning details for Hesperia
Cold winter nights in Hesperia can make an unheated garage a poor place to store compound or mixed material. Painting the whole wall after a texture patch gives a more even result than spotting primer over only the repair. Manufactured homes in the area may use thinner wall panels that call for a different repair method than standard board.