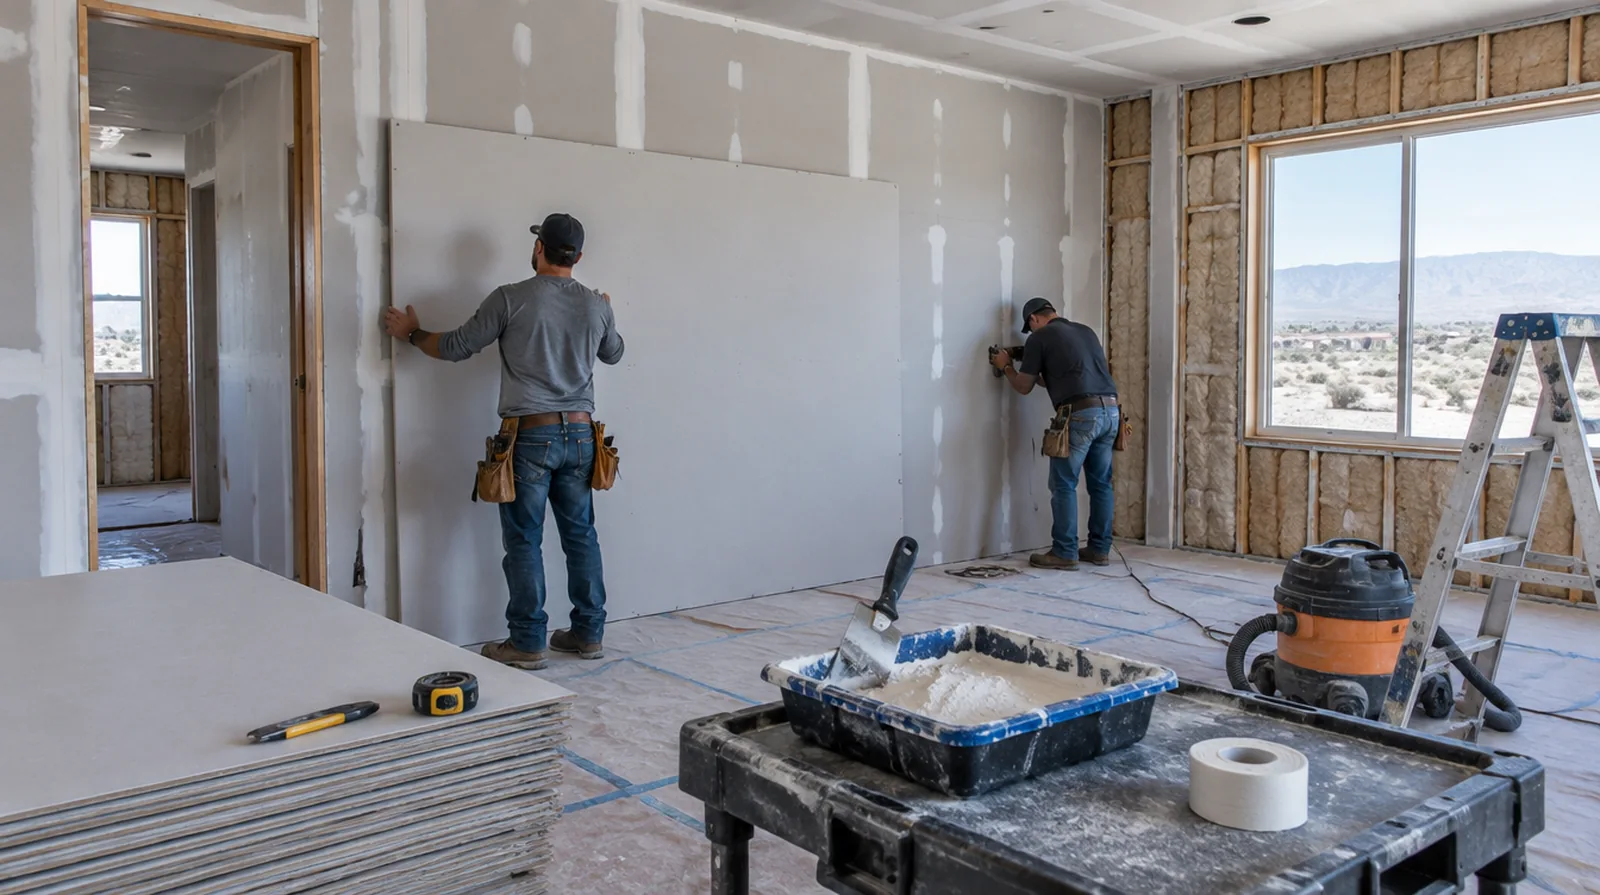
Explain verification limits
An installation scope does not itself establish a measured acoustic rating for a finished room. If a particular rating is required, discuss suitable design input and testing with an acoustic professional. When damage followed other building work, describe the nearby alterations and the sequence between those changes and the first visible defect.
Set realistic goals
Adding board alone does not guarantee a quiet room when sound travels through doors or adjoining cavities. Review the expected improvement without treating a single material as a complete solution. Where a surface has been painted many times, consider whether differences in texture or sheen will require a wider decorative treatment.
Review the whole assembly
Acoustic performance depends on framing, insulation, panel layers and perimeter details working together. Select a suitable tested or documented wall system rather than combining unrelated marketing specifications. For a planned new wall mounted fixture, resolve its backing requirements while the cavity remains open instead of cutting into completed drywall later.
Consider cavity access
An open partition offers different options from a finished wall that must remain largely intact. The estimate should explain what needs removal and how the interior will be restored afterward. If the wall work belongs to a broader renovation, coordinate its order with flooring, cabinetry and trim instead of scheduling finishing in isolation.
Evaluate added thickness
Adding layers changes the relationship between the wall surface face, fittings and adjoining trim. Include those interfaces in the scope so acoustic work does not leave unfinished perimeter details. Where light reflects along the wall surface, inspect the complete plane instead of limiting the review to the edge immediately next to the repaired section.
Coordinate electrical boxes
Electrical openings can become acoustic weak points, notably where boxes align on opposite faces. Coordinate any changes with the electrical trade and preserve the requirements of the complete assembly. If the decorative coating is already chosen, share its sheen and color early because those choices influence how substrate preparation is judged.
Avoid rigid bridges
Resilient components can lose effectiveness when fasteners or fittings create unintended solid connections. Installation details should be checked against the selected system instead of relying on appearance alone. Where several contractors share the renovation, identify the inspection and handover milestones that determine when each following stage can proceed.
Identify the noise path
Determine whether the main concern is airborne speech or vibration through the building structure. Different transmission paths call for differing assessments before a wall treatment is selected. When the same defect has returned, share information about previous repair methods so the next assessment can consider why they did not last.
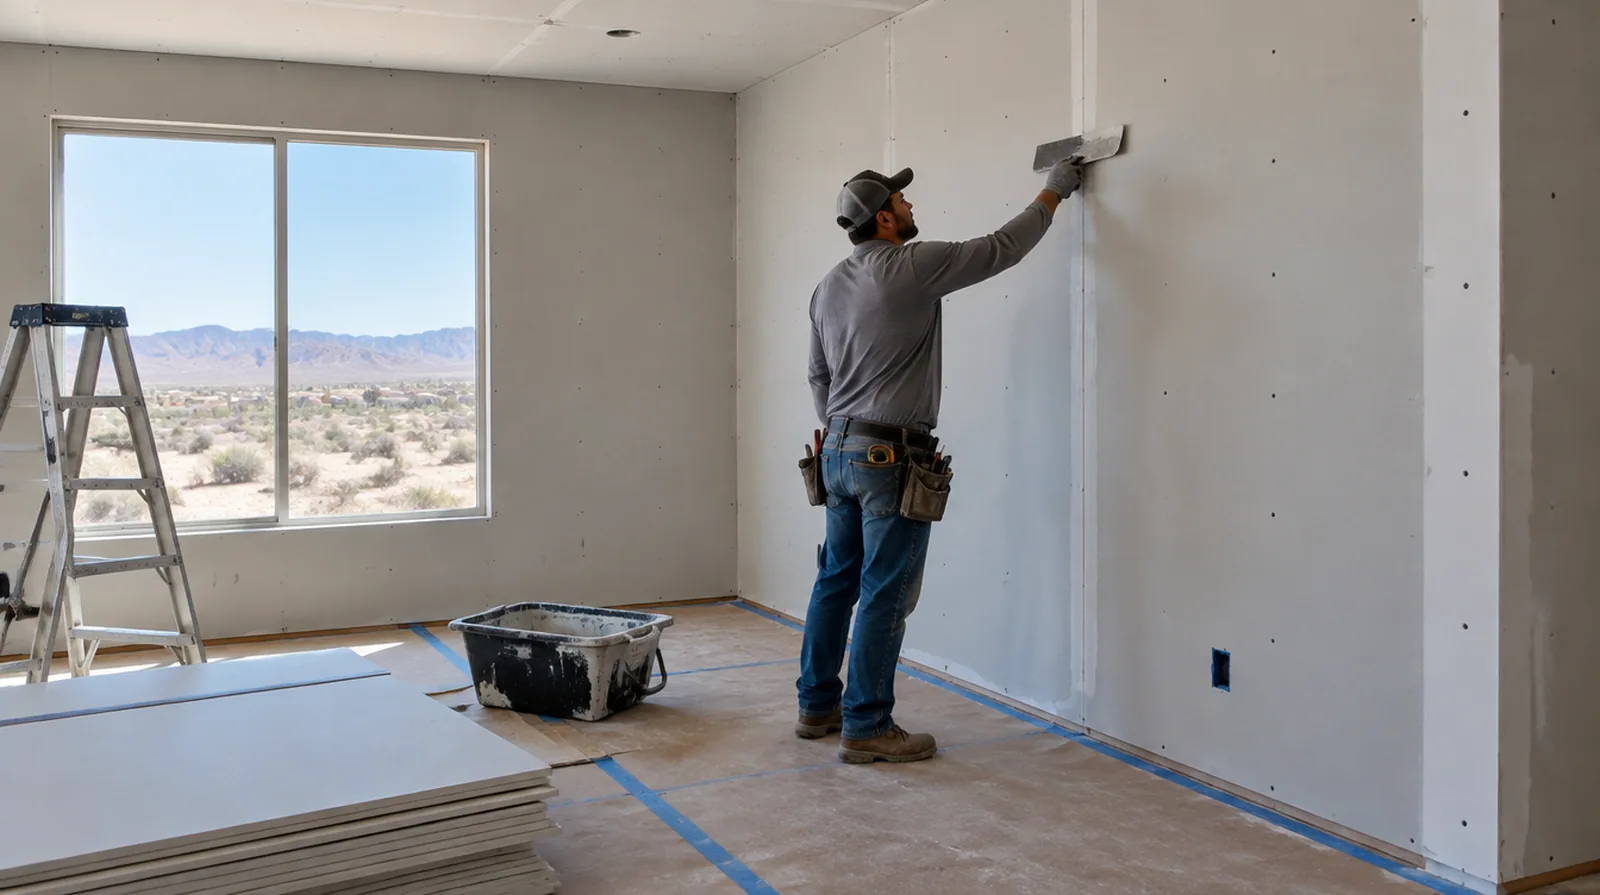
Address air leakage
Small gaps around edges and service penetrations can undermine an otherwise substantial wall. Appropriate acoustic sealing belongs in the plan wherever the selected assembly requires it. Where a neat final edge matters, agree whether the finish ends against existing trim or whether that trim will be removed and replaced.
Respect fire requirements
Acoustic changes should preserve any fire resistance required of the existing separating assembly. Verify suitable board, sealing and connection details before changing the current assembly. When damage followed other building work, describe the nearby alterations and the sequence between those changes and the first noticeable defect.
Project context in Hesperia
Hesperia rooms that face west can heat quickly in the afternoon, so finishing coats are easier to manage early in the day. A crack over a window header that reopens each summer usually points to seasonal movement rather than a failed patch.
Scope questions before finishing
When the decorative coating has been selected, tell the finisher its intended sheen and color while the surface preparation standard is still being agreed.
For a limited patch requiring substantial setup, assess the complete package of access and protection rather than relating cost only to the opening size.
Where a finished perimeter is prominent, decide whether trim stays in position or is removed before agreeing how the new surface meets that edge.
If the problem developed after another renovation, explain which nearby materials or building systems changed before the damage became visible.
For a repair that crosses several surfaces, measure the affected planes separately so the estimate can explain where each finishing treatment starts and stops.
For a tightly furnished room, plan temporary storage and the minimum working clearance before material is carried into the property.
If materials must cross common building areas, plan the protection and access route so other occupants are not needlessly obstructed by deliveries.
If the decorative coating is already chosen, share its sheen and color early because those choices influence how preparation of the surface is judged.
Where flooring is staying in place, agree on protective coverings and check that tools and material handling will not damage the visible finish.
When photographs are used for an initial discussion, include a wide room view as well as a close view so scale and surrounding finishes are understandable.
For a surface that will receive wall covering, share the product requirements early so the finishing stage supports the planned decorative treatment.
While a removed panel exposes the wall cavity, complete the necessary review of concealed work before replacement board closes the opening.
Explore the Hesperia drywall overview for related options, or read the project planning information before arranging the next stage.
More planning details for Hesperia
Dry High Desert air shortens drying time, so thin coats and light misting help prevent shrinkage cracks. Wide Hesperia lots normally leave plenty of room to stage sheets, provided they stay flat and out of direct sun. Afternoon light across a smooth wall reveals ridges that are hard to see at noon, so review the finish later in the day.