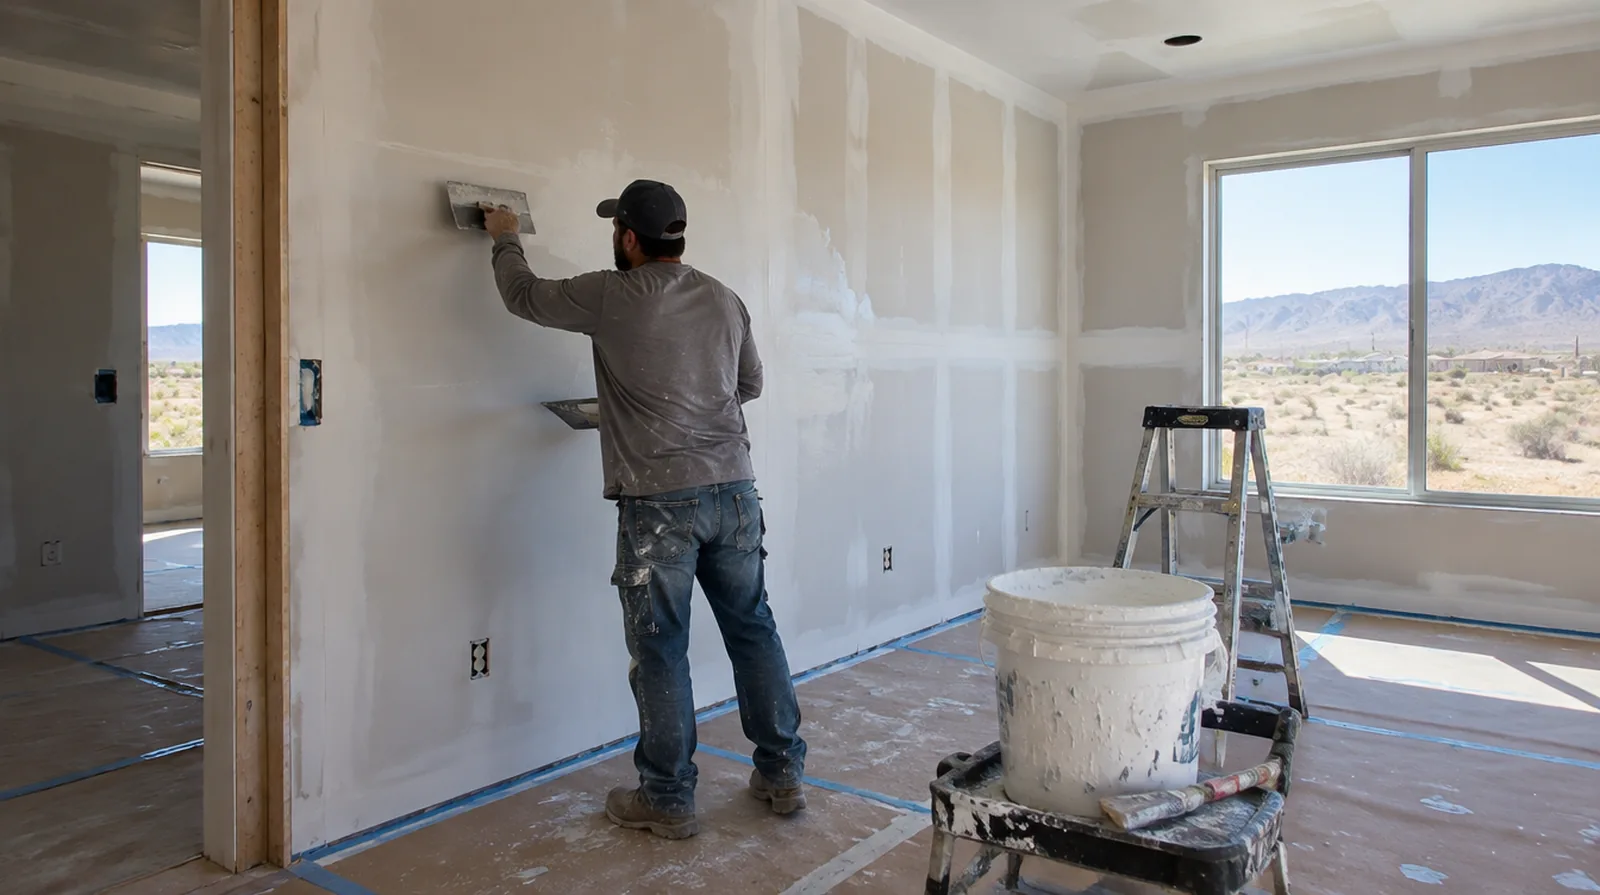
Assess the existing coating
Loose paint and unstable layers need attention before a thin skim can bond reliably. Separate peeling or poorly bonded material from a stable wall that merely needs smoothing. Where a finished perimeter is prominent, decide whether trim stays in position or is removed before agreeing how the new surface meets that edge.
Refine with minimal sanding
Good application reduces the amount of sanding needed to achieve a uniform finish. Dust control should still be planned because broad wall work could produce fine airborne particles. For a surface carrying numerous paint layers, discuss whether differences in the retained profile or sheen justify decorating a broader area.
Define the smoothing target
Flattening a light texture is different from correcting deep waves across an entire wall. The scope should describe what the skim is expected to improve and what remains outside that finish treatment. In a room with little free floor space, identify temporary storage for belongings and establish sufficient clearance for the work before delivery.
Apply controlled thin layers
A skim coat is intended to refine the surface instead of build a heavy unsupported layer. More than one pass may be necessary where the original texture creates deeper low points. For work spread across different planes, record their dimensions separately and describe the boundary of the treatment on each surface.
Inspect using side light
A surface can appear even under direct lighting while revealing shallow tool lines from the side. The review should reflect the conditions that will matter when the room returns to everyday use. When concealed damage is possible, establish how additional findings and any proposed removal will be recorded before the scope changes.
Check underlying movement
A skim coat improves the surface profile but does not repair structural movement or unstable board. Recurring cracks should be investigated and reinforced appropriately before the finish is covered. When panel replacement exposes a cavity, resolve any required inspection before that opening is closed and the finishing work begins.
Choose paint with the finish
Higher sheen coatings can emphasize small variations that a matte finish makes less obvious. Connect the paint selection to the agreed preparation standard before deciding how extensive the skim work should be. For a room with restricted airflow, plan drying conditions alongside dust protection and the comfort of people occupying neighboring spaces.
Let each coat dry
Allow each application to become ready for the next under the conditions within the room actually maintained. A rushed next coat can drag or disturb material that has not set up sufficiently. Where a future fixture will be installed, coordinate any required backing while the cavity is accessible instead of reopening the completed wall.
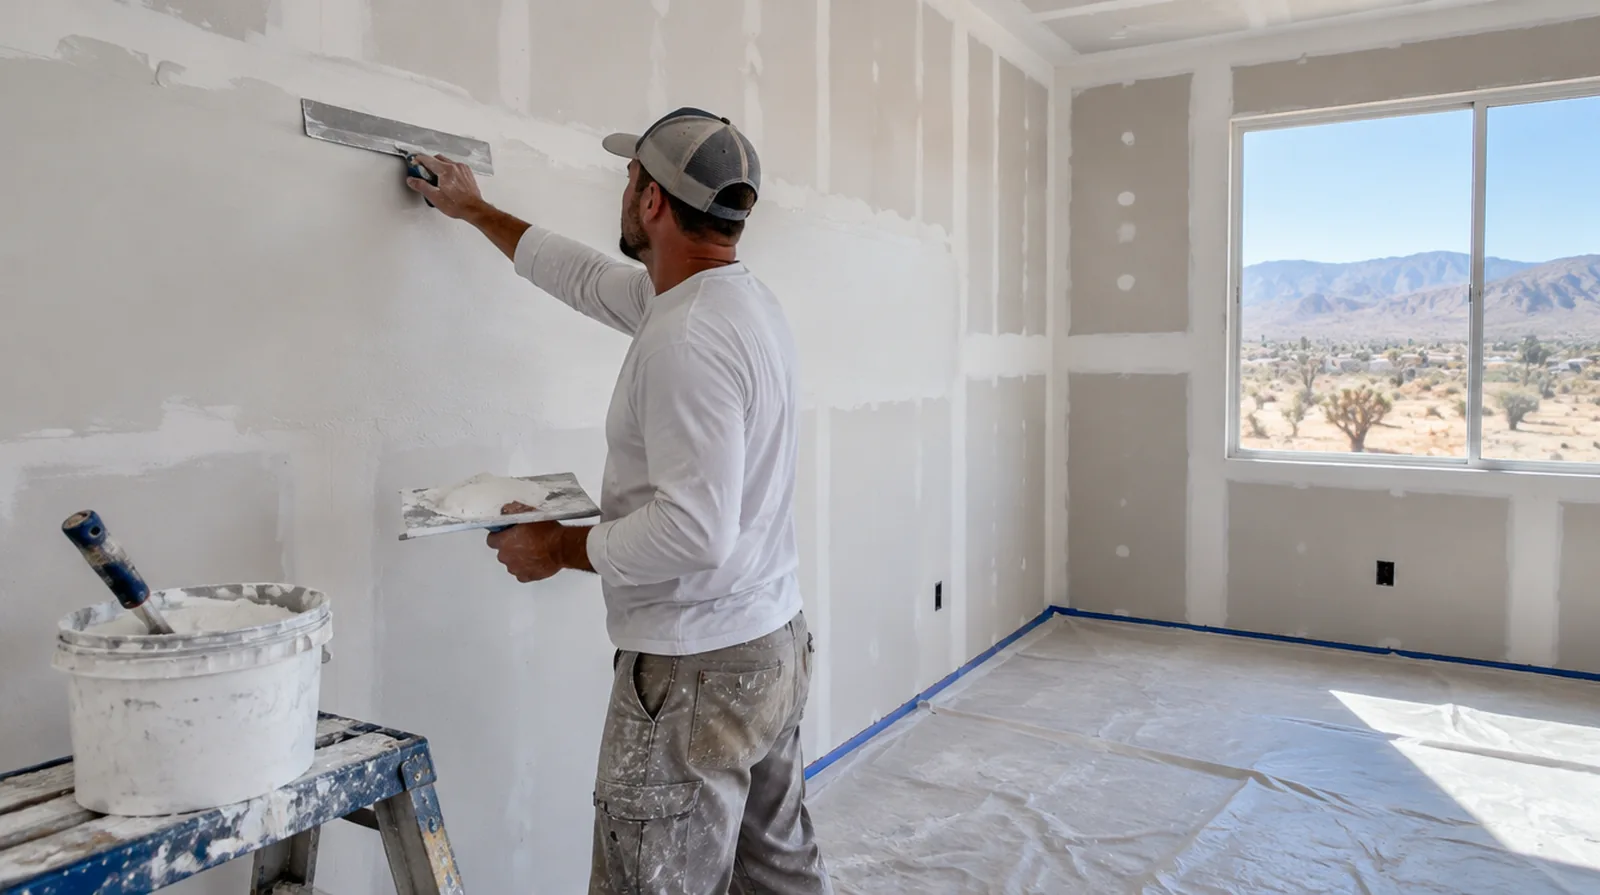
Work around trim carefully
Baseboards, frames and fixed fittings create edges that need neat transitions and protection. Talk through whether removing trim is worthwhile or whether the finish will stop cleanly against it. For a repair that crosses several surfaces, measure the affected planes separately so the estimate can explain where each finishing treatment starts and stops.
Prime before decoration
The new skim needs compatible priming before its final decorative coatings. Primer helps equalize absorption and may reveal small touch ups that should be resolved before the final coat. Where a future fixture will be installed, coordinate any required backing while the cavity is accessible instead of reopening the completed wall.
Project context in Hesperia
Dry High Desert air shortens drying time, so thin coats and light misting help prevent shrinkage cracks. Hesperia rooms that face west can heat quickly in the afternoon, so finishing coats are easier to manage early in the day.
Scope questions before finishing
Where a future fixture will be installed, coordinate any required backing while the cavity is accessible rather than reopening the completed wall.
For a room that stays in use, set a workable boundary around construction while retaining the access people need for normal daily activities.
For a planned new wall mounted fixture, resolve its backing requirements while the cavity remains open instead of cutting into completed drywall later.
For an initial assessment from pictures, provide an overall room photograph and a detailed view of the defect so both context and scale are apparent.
If access passes through a shared space, arrange protection and a delivery route that do not unnecessarily obstruct other occupants.
For a limited patch requiring substantial setup, assess the complete package of access and protection instead of relating cost only to the opening size.
Where the wall surface meets fixed furniture, clarify whether removal is included or whether the finish will terminate at the accessible edge.
Where occupants have dust sensitivity concerns, agree containment and cleaning measures before settling the way the room will be staged.
For a small repair with extensive setup, compare the total scope rather than assuming the price should follow the hole dimensions alone.
If scheduling is the main concern, separate hands on labor from drying intervals instead of treating every visit as a full day of active work.
Where light reflects along the wall, inspect the complete plane instead of limiting the review to the edge immediately next to the repaired section.
If the surface condition is uncertain, allow for an assessment that can distinguish stable material from layers that should not be covered.
Explore the Hesperia drywall overview for related options, or read the project planning information before arranging the next stage.
More planning details for Hesperia
Afternoon light across a smooth wall reveals ridges that are hard to see at noon, so review the finish later in the day. Many Hesperia homes carry an original builder knockdown that needs a test patch before the full repair is textured. Manufactured homes in the area may use thinner wall panels that call for a different repair method than standard board.